River Anatomy
As you set out on your journey to become a packrafting Jedi, it is important to begin by acknowledging a simple truth. The river is stronger than we are. Whilst there are times we may need to resist the water, wisdom there is in using the force. Fighting the force leads to the dark side…where it’s cold and wet.
So how do rivers work? Largely they flow down hill. We refer to water on the uphill side of us as Up Stream and the river down hill of us as Down Stream. This is unlikely to be news to anyone, but it’s important we start with correct terminology so as to avoid any confusion. We refer to the banks of the river as River Left or River Right always as if we’re heading down the river looking down stream (regardless of which way we are actually facing).
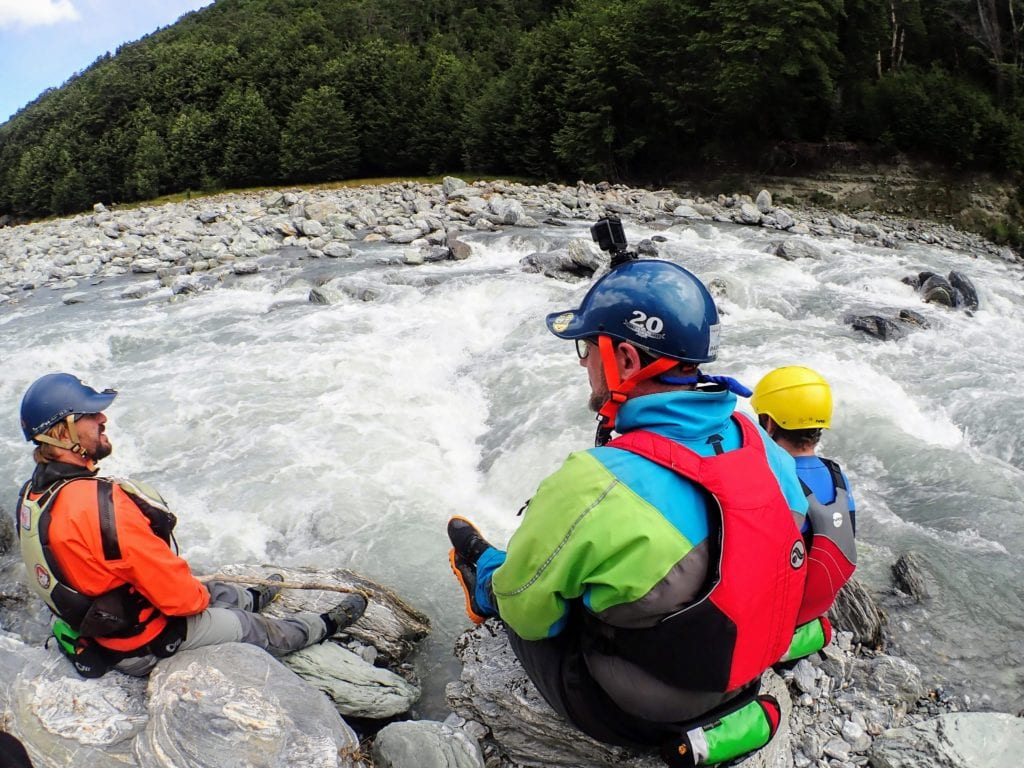
At first glance rivers, in particular rapids, can appear to be a random confusion of noise, exploding whitewater, froth and spray. In reality all rivers flow in the same way and are made up on constituent parts that once identified and understood, give a level of predictability and clarity. Once you understand this, you’ll never look at flowing water in the same way. If you can walk passed water running down a gutter and not imagine yourself in a tiny boat paddling through it, are you even really a paddler?!
Largely speaking you can break down the anatomy of the river into two categories: Features and Hazards. Whilst most features can also be hazards, there are some hazards that should be treated exclusively as hazards. We’ll deal with the features first. Simply being able to identify a feature on the river doesn’t help us much. Having a solid understanding of what the water is doing, why and how this should influence our behaviour is a key and never ending tenet of your river running practice.
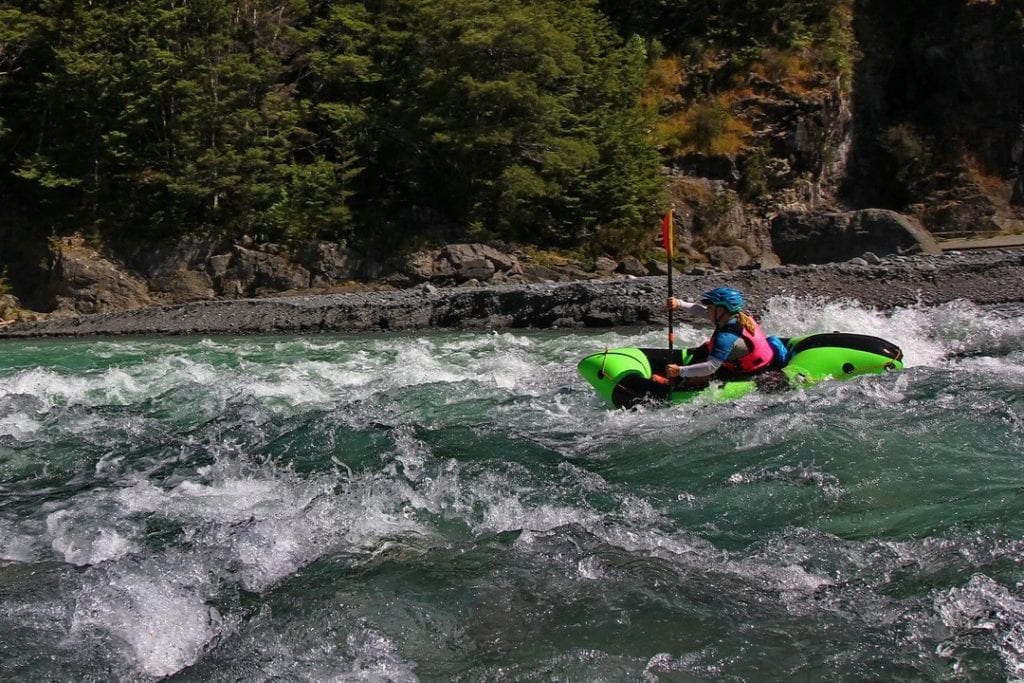
Features
Eddies
We’ll start with eddies as they are super common and learning how to use them is probably the single most useful thing you’ll ever learn on a river. It’s up there with self rescue in terms of it’s importance as a skill to master and you’ll probably never stop trying to refine your use of eddies all the way through your whitewater practice.
Eddies are formed when there is an obstacle in the flow. Either side of the obstacle is effected by different pressures. The area of high pressure on the upsteam side of the obstacle is called a pressure wave/buffer wave/pillow/cushion wave (more on this later) and the low pressure formed on the down stream side is called an eddie. Eddies create either counter flow, with the water flowing back upstream towards the obstacle forming the eddie, or calm water that can be used as places to hide from the flow or maintain your control as you navigate the river.
What does that mean for us? Well some eddies can be really strong and have powerful eddie lines or eddie fences where the main flow and the eddie meet. These eddie lines can create little whirlpools, boils and other weird and wonderful currents. Being exposed to and transitioning from, differnt currents can flip your boat. Learning how to effectively cross eddie lines is the best skill you’ll probably ever learn. But it is worth noting that because this feature can potentially flip you, they can represent a hazard.
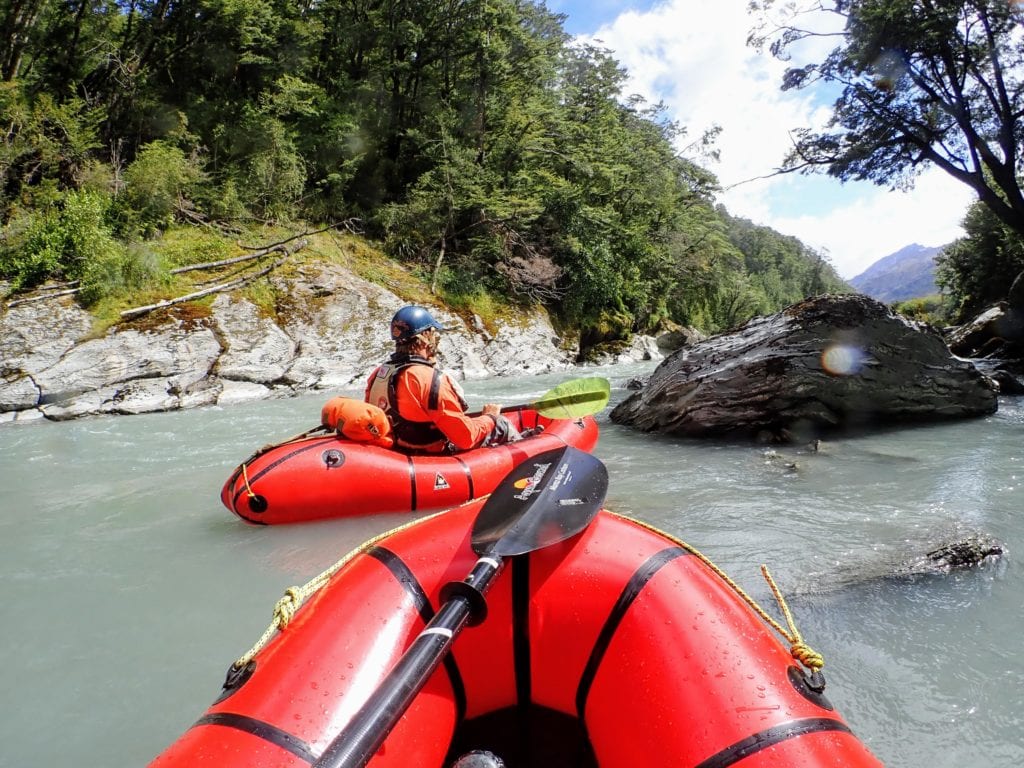
How can we use them? In all of the ways! Eddies are where you start and stop when you are on the river so that’s pretty key. You use eddies to boat scout or to stop for a full scout. You can use eddies to break rapids into sections and maintain control in a decent. You can use eddies to control your speed or effect your position relative to your team mate. You use eddies to check on your mates as you run through certain sections of river. You can use eddies to attain back upstream, especially useful in an emergency. You can use eddies to shave off down stream momentum midway through a rapid… the list goes on and on and on! Catching eddies can be challenging and heaps of fun. Find a person who enjoys catching eddies and paddle with that person. Everytime you catch an eddie will become a slightly better paddler, especially if you pick tough eddies to get into or out of. Being able to get to any and every spot on the river represents control and this should be what your whitewater practice should be all about; mastering control. Try not to fall into the trap of thinking progress means trying harder rapids. Progress should represent making easy water more difficult by finding hard moves to try out. That’s how you’ll get better. But I digress. There’s more here if you wanna disappear down that rabbit hole.
Down Stream V’s
Down Stream V’s are another awesome thing to keep an eye out of on all rivers. Often a down stream V isn’t technically a feature but an absence of features that shows up down stream of two other features. For example you could have two rocks, one of river left, one on river right, that form eddies behind them. The eddie lines that come off these rocks create a down stream V or a tongue of faster moving, uninterrupted and often deeper water.
What does that mean for us? Usually most features also prepresent a hazard too if they’re not encountered properly, but a downstream V is a good exception to that rule. They are fast current, deep and strong currents so potentially they can push you into parts of the river you don’t necessarily want to be in, but on the most part they are pretty benign. And Fun!
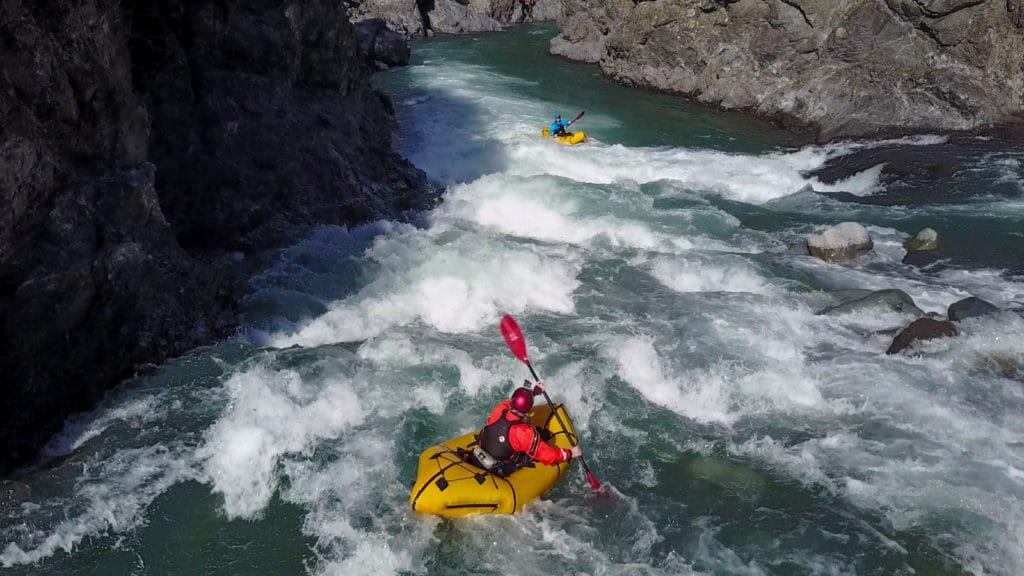
How do we use them? They’ll often work as way point markers or tick features showing you a good line through a rapid. Especially at the entrance to a rapid.
Buffer/Pressure Waves
As mentioned earlier, these are often found on the up stream edge of a obstacle such as a rock in the river, but also you can find buffers as the water flows into bluffs or cliff faces. The water “bounces” off the obstacle and flows back against the current. Where these two currents meet the main flow (which is more powerful) will force the rebounding water to pile up and create a pillow or cushion around the obstacle or bluff.
What does that mean for us? One of the most common ways people flip is when they have one tube of your packraft effected by one current and the other tube effected by another. Buffers can create those conditions perfectly if you hit them at the wrong angle. As a rule, hitting things “wave straight” or square on with the nose of you packraft will help you avoid this. However, when you encounter buffers or boiling water around bluffs, it might be sensible to point your stern or ass at the buffer so that you forward strokes will take you to a more desirable place than straight into an obstacle.
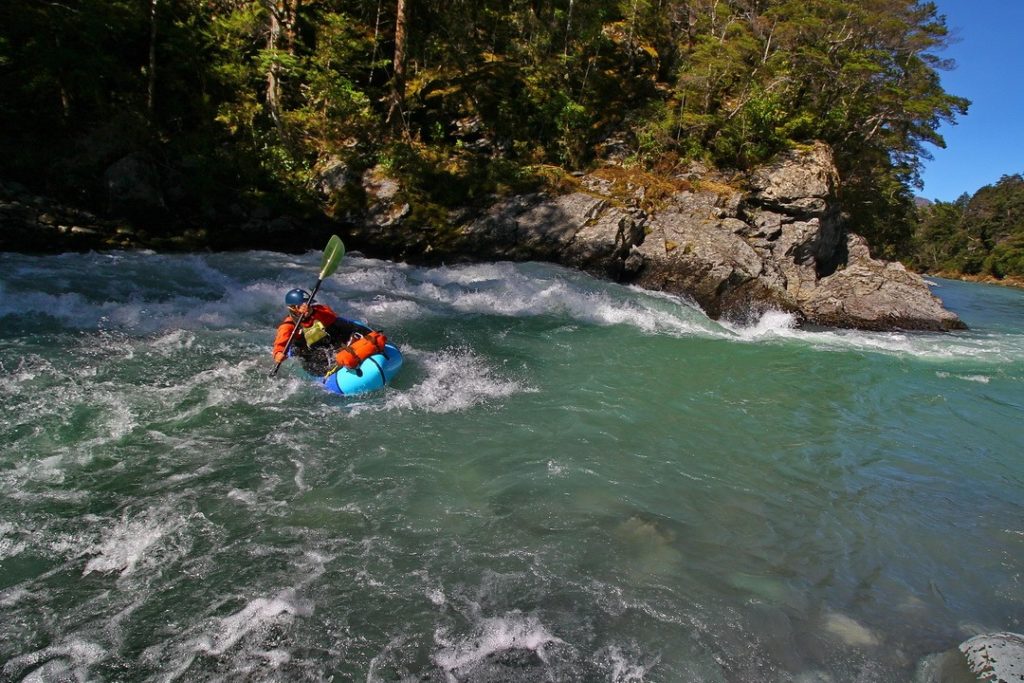
How do we use them? It might be rare to be aiming to use buffers as an assisting feature to achieve a particular move or outcome until your starting to run more technical lines. However, it is worth noting that often buffers will stop you hitting the obstacle causing it. This can be comforting to know if you’re swimming. Although sometimes the “boil” or “seam line” created by two currents meeting each other can create powerful undertows too so anticipating that can be important too.
Standing Waves
Standing waves, holes, rooster tails, pour overs are all varying degrees of the same process occurring so I’ve chosen to deal with them together.
As water flows over an obstacle on the river bed such as a rock, the water is forced up and over the obstacle. Here comes a bit of science now, sorry. As the water is forced up in the air, it gains potential energy. The Law of energy conservation (or the first law of thermodynamics) tells us that energy cannot be created or wasted, only transformed and so this potential energy must be transformed into different energy forms, most commonly kenetic energy or motion. We know that newtons third law say that for every action there is an equal and opposite reaction. In other words as the water goes over the rock it must come back down. How powerfully it comes down and where that energy goes largely depends on how far it falls of the object. If it flows up and over an object where the object is covered by a significant amount of water, the flow often bounces up off the river bed after falling to create a lump or wave in the flow. Sometimes the top of the wave will break upstream and cause a little whitewater (and noise- another way in which energy is recycled). Crucially the flow will often continue down stream, repeating the process of potential/kinetic energy recycling with diminishing strength as more energy is siphoned off into noise or lateral kinetic energy. This is called a wave train and they are really good fun! You can also get lateral waves forming, breaking off rocks in the same areas you’d expect to see eddie lines but formed from the pressure wave at the top. These lateral waves will often form down stream V’s too.
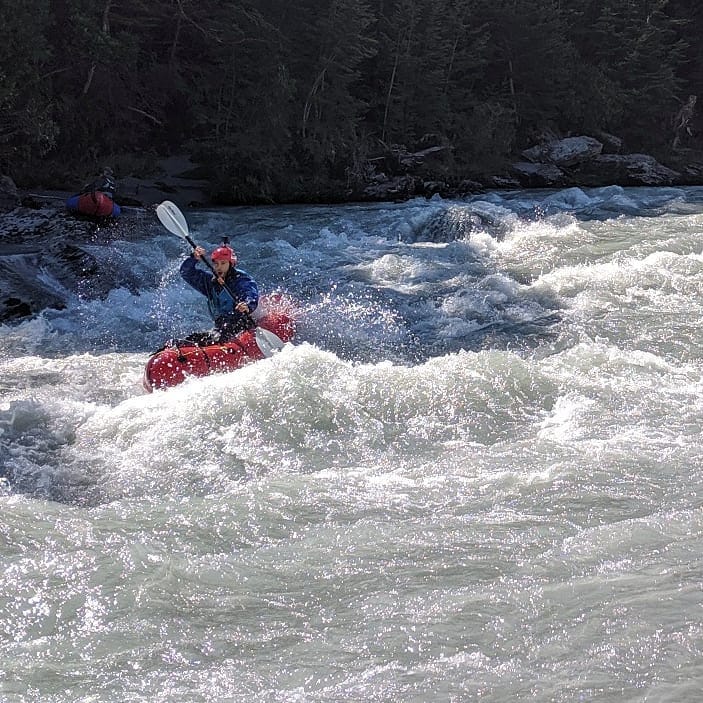
What does that mean for us? Again, if one tube is one flow and the other is being effected by a different current of flow, we’ll often flip. So if we hit a wave sideways, we have the potential to flip us over. An easy solution to this is hit the wave straight on, but even then the crashing wave may slow us down. Anticipating this and planning your paddle strokes, speed and angle of your boat is important.
How do we use them? One of the most common ways is when we ferry glide or paddle from one side of the river to the other using upstream angles. You can use lateral waves to surf across the river super effectively, often without losing too much down stream positioning. You may also use laterals as a little sneak line of rapids. Where two laterals meet at the point of a down stream V, there’s often a big pile of fluffy whitewater or an explosion of water crashing together. If you’re concerned that it might be powerful enough to flip you, you can always cross a lateral wave at a perpendicular angle (wave straight) to avoid going through the guts of the rapid. This is especially useful in big volume rivers.
Holes/Hydraulics
So these occure in the same way as waves (as described above). The big difference is how much of that water carries on flowing down stream and how much falls back up stream when the wave breaks at the top. If significant amounts of water breaks back upstream a recirculation can occur where the water then bounces up off the bottom of the river, travels all the way to the top of the wave… only to fall back up stream again and repeat the process. The less water that “escapes” down stream the more retentative or sticky that hole or hydraulic can be.
What does that mean for us? When you look at the water after a hole or hydraulic, you’ll often be able to see where the water starts to flow downstream again and where the water is still feeding back into the hole. This is known as the tow back. The larger the tow back, the more dangerous a hole can be. Sometimes they are known as terminal holes, stoppers or keepers, all of which sound as ominous as each other! Essentially what they mean is that some holes can be powerful enough to reciruclate people or boats. Another indicator as to weather or not this is a feature to be avoided or not is the shape of the hole. Rarely is a hole a uniform shape (unless it’s a weir, but more on that in hazards). Often a hole will have a point of weakness, be it a jet of water that escapes through the middle of it or a weak side (or sides). When looking for the point of weakness, ask your self how you would get there. More often than not the point of weakness is at the edges of the hole. If the edges of the hole are downstream of the main focus of the hole, chances are you can escape the hole by trying to swim or surf or make your way to down stream edge before the current will flush you out. Holes shaped like this are sometimes called smiling holes. When the edge of the hole are upstream of the holes focus, it may be impossible to reach that point of weakness to exit. These holes are sometimes called frowning holes and should be avoided.
How can we use them? Sometimes behind holes the flow is less powerful so this can work as an eddie. Holes can also be used to assist ferry glides if you use the carefully.
Pour Over
I’m sure you’re starting to get this now. A pour over is a hole where there really isn’t much water going over the top, or the water than is going over the top lacks the velocity to do anything other than just Pour Over the ostacle often forming a super sticky hole at the bottom.
What does that mean for us? For a start the object that are causing the pour over are going to be objects we could hit. If we’re in our boats this could rob us of our momentum, it could even flip us. If we’re swimming this could cause an owie. The hole the otherside of a pour over is often pretty powerful too given the vertical nature of the drop. So potentially not a great place to be.
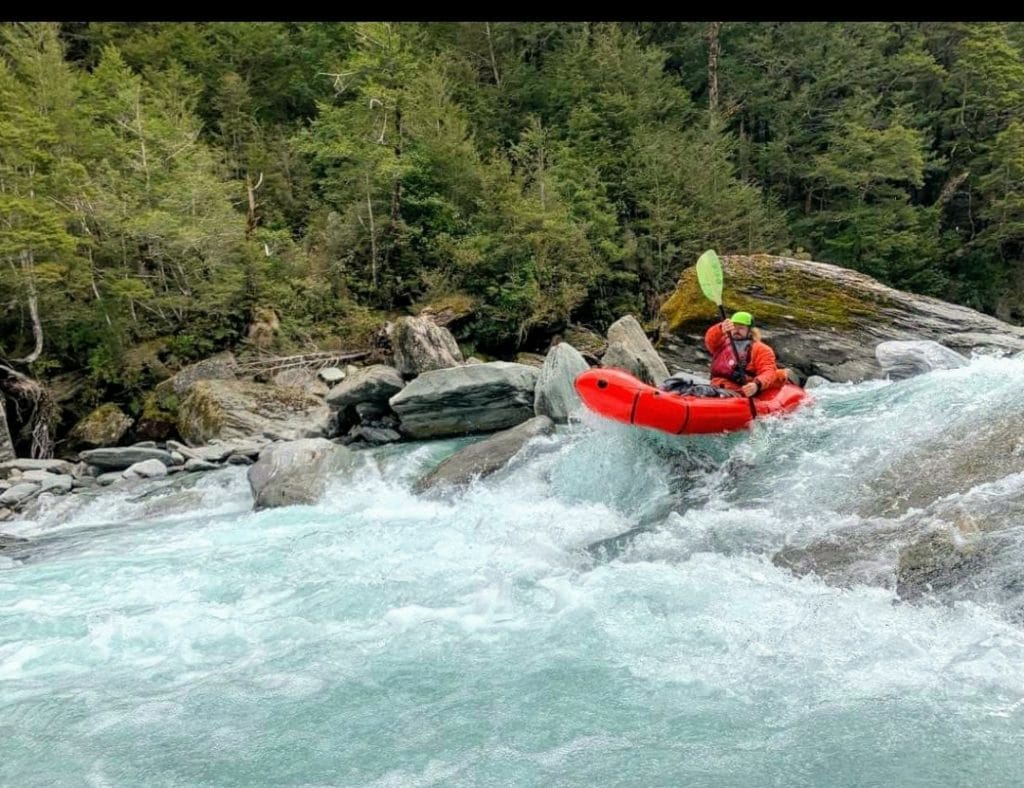
How can we use pour overs? Not many ways i guess, there’s the same eddie effect that is created as outlined above, but additionally you can sometimes use small pour overs/holes as opportunities to boof which is super fun! So boofing is where you drive you boat off the lip of the drop, lifting the nose of the boat and aiming to hit the water on the downstream side of the feature. It’s like you hop over it. Really rewarding when you get it right, super steezy and everyone will think you’re sexy (provided you don’t pull a stupid face like the one in the picture!). It’s a more advance technique but one that will open up heaps of lines and options for you.
Hazards
These hazards are pretty much just hazards. There’s no real way you’ll commonly be thinking about using these hazards as features. They’re just things to avoid and how to recognise them.
Weirs/Low head Dam
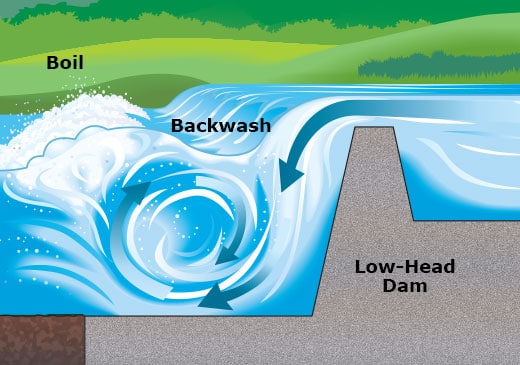
Like a hole but man made. Totally flawless. No points of weakness. Perfectly engineered drowning machines.
How do you recognise them? The tow back is huge, often super quiet (no energy being lost as a noise, impressively efficient) and they’ll be river wide often we all sorts of flotsam and jetsam recirculating in there for decades ago.
Strainers
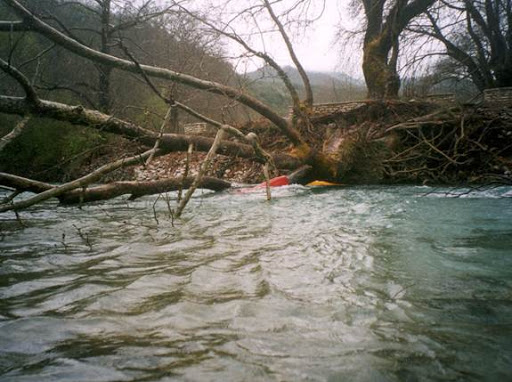
These are place where there are ojects in the flow, such a trees, fences or other nasty things that will allow the water to flow through, but not a person of boat. Really nasty. Imgine that feeling when you put your hand over a plug hole only with your hole body. You have to be really lucky or really switched on to not get f**ked up by a strainer. Avoid.
How do you reconise them? The classic is trees, branches or logs in the water but in flooded rivers (or even after a flood has diverted a river) this can include park benches, picnic tables, fences, cars all sorts of stuff. Gross, don’t go near them.
Syphons
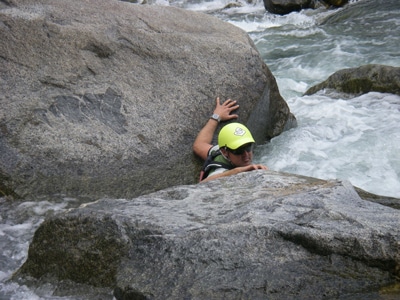
Like strainers but often talked about when the water is disappearing through boulders or rocks that will allow water through but not a person. Horrifying.
How do you recognise them? The river can appear to disappear or go under ground into pile of boulders.
Undercuts
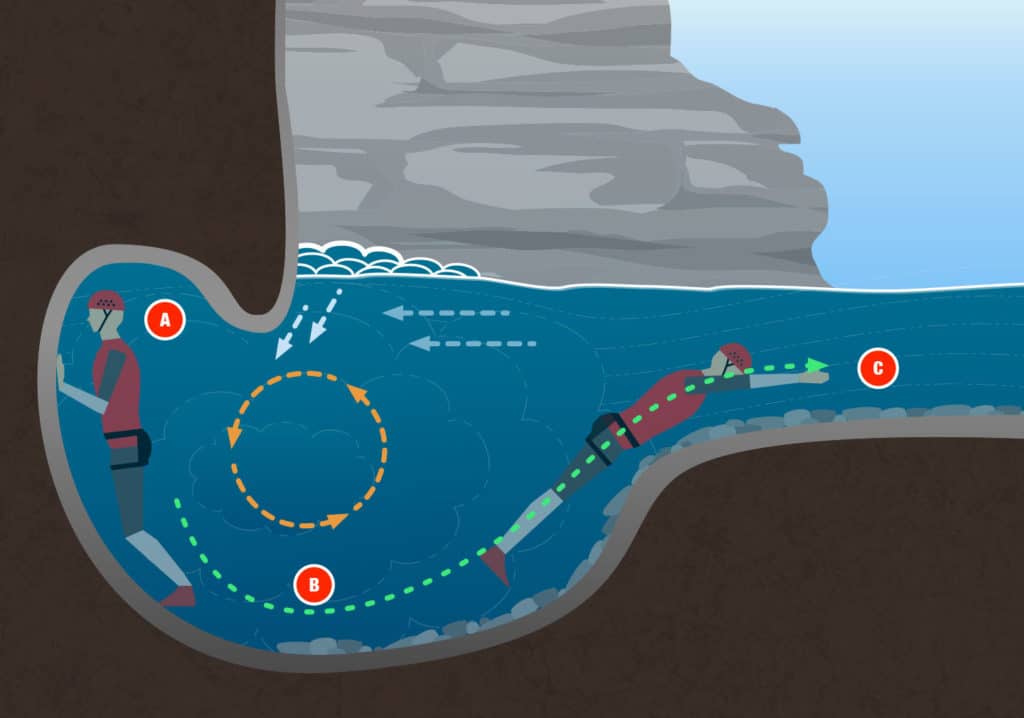
Often found on the outsides of corners where water has been eating away for a while, but in essence what undercuts are are places where the river has eroded rock or banks to the point where the object beneath the water level has been eaten away to undercut the object above the water level. Can create underwater caves. Not where you want to be.
How do you recognise them? Obviously look in the places you’d expect to see them like the outside of corners, but sometimes you can find them on the upstream sides of midstream rocks or other weird and wonderful places. One of the tell tale signs is what the water is doing. Is there a pressure wave where you’d expect to see one or is the water disappearing eerily into what looks like a sold wall? What about the down stream side of an obstacle? Is there regular flow were you’d expect an eddie? If it doesn’t look natural it’s a bit weird and should be treated with caution.
COLD!
I’ll only mention this hear briefly because i guess it is neither a river feature or a technically speaking a river hazard… but cold water kills waaaaaay more people than drowning. Let that sink in for a second. We spend ages thinking about ways to stop us drowning but often, especially in packrafting, I see people paddling in thermals and t-shirts. When I wrote my dissertation on risk management in the outdoors, one of my main focuses was the idea of perceived risk juxtaposed with real risk. That’s where you get perfect storms for fatalities. That’s why we see so many people dying of hypothermia or exposure or other cold water related injuries. It’s demonstrable and repeatable patterns when you drill into it. This is not an opinion, this is science. Cold water kills. Buy a dry suit. Or start saving for a dry suit. Or a least a good wetsuit.

Leave a Reply